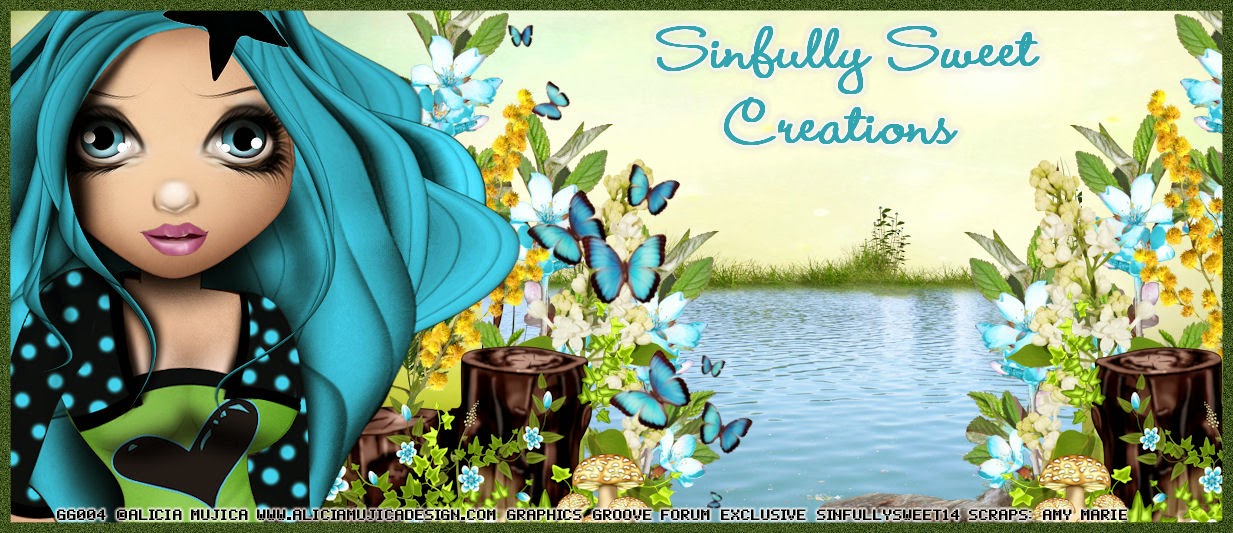
For this tutorial you will need the following:
Paint Shop Pro, I am using PSP X, you should be able to use any version.
Tube of choice, I am using the artwork of Bits N Bobs, which you need a license to use.
Scrap kit of choice. I am using a PTU kit by Bits N Bobs called Back to Nature
Font of choice, I am using Digs My Hart
Plugins: AAA Frames Foto Frame
Just remember that my choices of papers and elements is just a suggestion, change it up and make it yours! You don't have to follow mine exactly.
Add a drop shadow of your choosing to tubes & elements throughout. I usually use 1, 1, 50, 5 unless otherwise noted.
Let's get started!
Banner Tag:
Open a new canvas 600 x 250 pixels with a white background.
Open paper 1, copy and paste as a new layer, resize 70%, arrange in canvas
Add your tube, arrange to the left
add the following
BTN23, resize 55%
BTN47 resize 55%
BTN61 resize 60%
BTN10 resize 60%
BTN25 resize 60%
BTN46 resize 60%
BTN, resize 25%, then another 90
You might want to go to adjust, sharpness, sharpen because we resized it so much
BTN48 resize 40%
We will make the avatar first, then come back and finish the tag
Avatar:
Open a new canvas 200 x 200 pixels with a white background
You might want different dimensions based on what your forum allows for avatars.
add the following items from your tag into your avatar:
background paper
tube
hummingbird
Now we'll hop back to the tag:
Merge visible, add your frame using AAA Frames Foto Frames using the following settings:
(click image for larger view)
add your copyrights and credits as needed
add your text
save
Now back to the avatar:
Merge visible
add the same filter for the frame, but change the width to 5
add your copyrights and credits as needed
add your text
save


No comments:
Post a Comment